Using a Travel eSIM for Your First Few Days — Then Switching to a Japanese Number
Updated: 2026-08-23
Quick answer
Hi, I'm Miya. The simplest way to stay connected from the moment you land is to think in two phases. Phase one is a temporary travel eSIM that covers your very first days, so you have maps, messaging and rideshare working the second you step off the plane. Phase two is a proper Japanese mobile line, which you set up only after your residence card is in your hands.
Why the split? A domestic Japanese number is tied to that residence card, and the card is issued on arrival — you can't contract a real Japanese line before you're actually in the country. So the travel eSIM buys you a calm, connected buffer while you get registered and settled, and then you switch over to a Japanese number for the long term.
Why a two-phase plan makes sense
Your first days in Japan are busy in a good way — finding your accommodation, learning the trains, buying a few essentials. Having data from the first minute takes the stress out of all of it, and a travel eSIM is the easiest way to get there because you can buy and install it before you fly, then switch it on when you land.
But a travel eSIM is meant to be temporary. It's convenient for a trip, yet it isn't a Japanese phone number and usually isn't built for months of daily life. That's exactly why phase two exists: once you can legally contract a Japanese line, you move to something designed for living here, not just visiting. Two phases, each doing the job it's best at.
Phase one: the travel eSIM for arrival
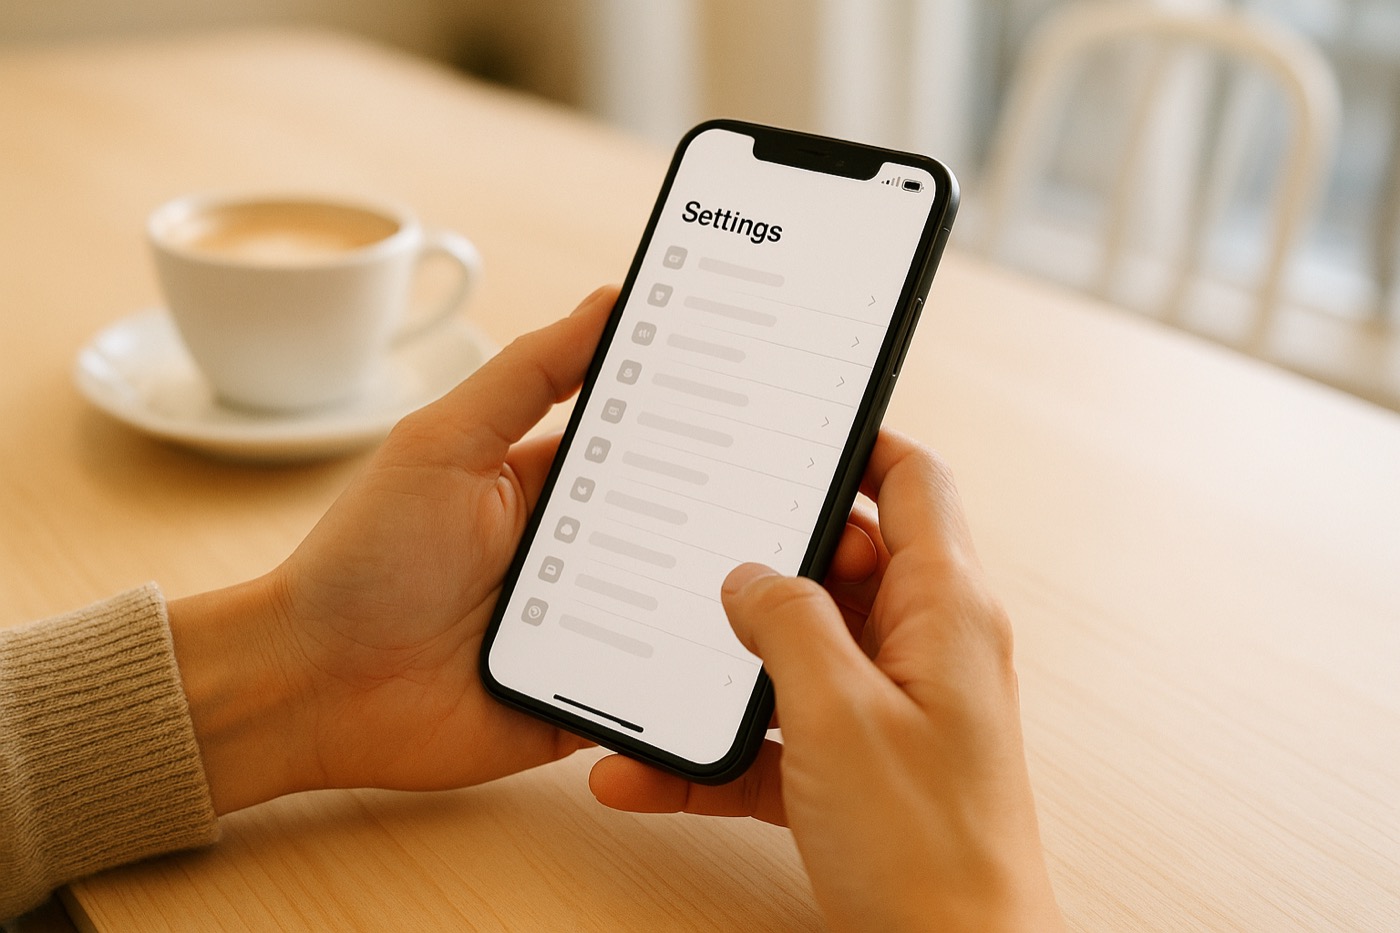
A travel eSIM is a data plan you install as a digital profile on your phone, with no physical card to swap. You buy one online, receive a QR code or activation link by email, and add it under your phone's cellular or mobile settings — usually a few minutes of tapping. Do this while you still have Wi-Fi, ideally before you leave home or at the airport, and simply keep it switched off until you arrive.
First, check that your phone is unlocked and supports eSIM — most recent smartphones do, but a phone locked to a carrier back home may not accept a new profile. Choose a short plan that comfortably covers your first days plus a buffer, since setting up your Japanese line can take a little time. Keep your home number available for any verification codes, and you'll land already online.
Phase two: a Japanese line, after your residence card
Here's the part to be clear about: your Japanese mobile contract starts after you hold your residence card, not before. When you arrive as a mid- to long-term resident, immigration issues the card on the spot. Many people then register their address at the local ward or city office, and with the card — and often that registered address — you're ready to sign up for a domestic line.
Getting a Japanese number is worth doing early, because so much of daily life leans on it: verification codes for apps, bank sign-ups, delivery services, and official portals all expect a domestic number. Identity checks for a Japanese line are done against your residence card, so this genuinely can't happen until you're in the country with the card in hand. That's the whole reason the travel eSIM covered the gap.
Making the switch smoothly
You don't have to cancel your travel eSIM the instant you land. Keep it running as your safety net while you register your address and set up your Japanese line, then let it expire or turn it off once your new number is active. Because both are eSIMs, many phones can hold more than one profile, so you can transition without ever going offline.
A few small habits help. Note down any account logins and QR codes for your travel eSIM before you travel, keep your passport and residence card handy for any setup steps, and make sure you have Wi-Fi or working data at the moment you activate your Japanese line. Do that, and the handover from phase one to phase two is genuinely uneventful — which is exactly what you want in your first week.
Where a Japanese line comes in
Once your card is in hand and your address is registered, phase two is easier than many newcomers expect. Rakuten Mobile, for instance, can be applied for online with just your residence card — no store visit needed — and an eSIM can be issued the same day, typically in about five to ten minutes once your details check out. You go from application to a working Japanese number in a single sitting.
So the plan is simple and low-stress: install a travel eSIM before you fly, land already connected, get your residence card and register your address, then move to a Japanese line for everyday life here. The travel eSIM covers the first few days; the Japanese number carries you the rest of the way. Arrive online, settle in, then get properly connected.
Related guides

Rakuten Mobile for Foreigners in Japan: What You Need, What It Costs, What's Included (2026)
A residence-card-only mobile plan in Japan, set up by eSIM. What the three price tiers actually cost, what the official page says about speed, what's bundled, the age discounts, and the documents to have ready before you apply. #PR
Read the guide →
How to Create a Rakuten ID in English — The Sign-Up Form, Field by Field (2026)
A walk-through of the actual Rakuten member registration form in English: the language switch most people miss, the six required fields, the two you can never change afterwards, and the katakana name box on the Japanese version. #PR
Read the guide →
How to Earn Rakuten Points in Everyday Life: A Practical Habit Guide
A practical guide to building a Rakuten points habit in Japan: earn through online shopping, code payment at everyday shops, and the card, with one connected ecosystem. #PR
Read the guide →