SIM vs eSIM in Japan: Which Should a Newcomer Choose? (2026)
Updated: 2026-07-28
Quick answer
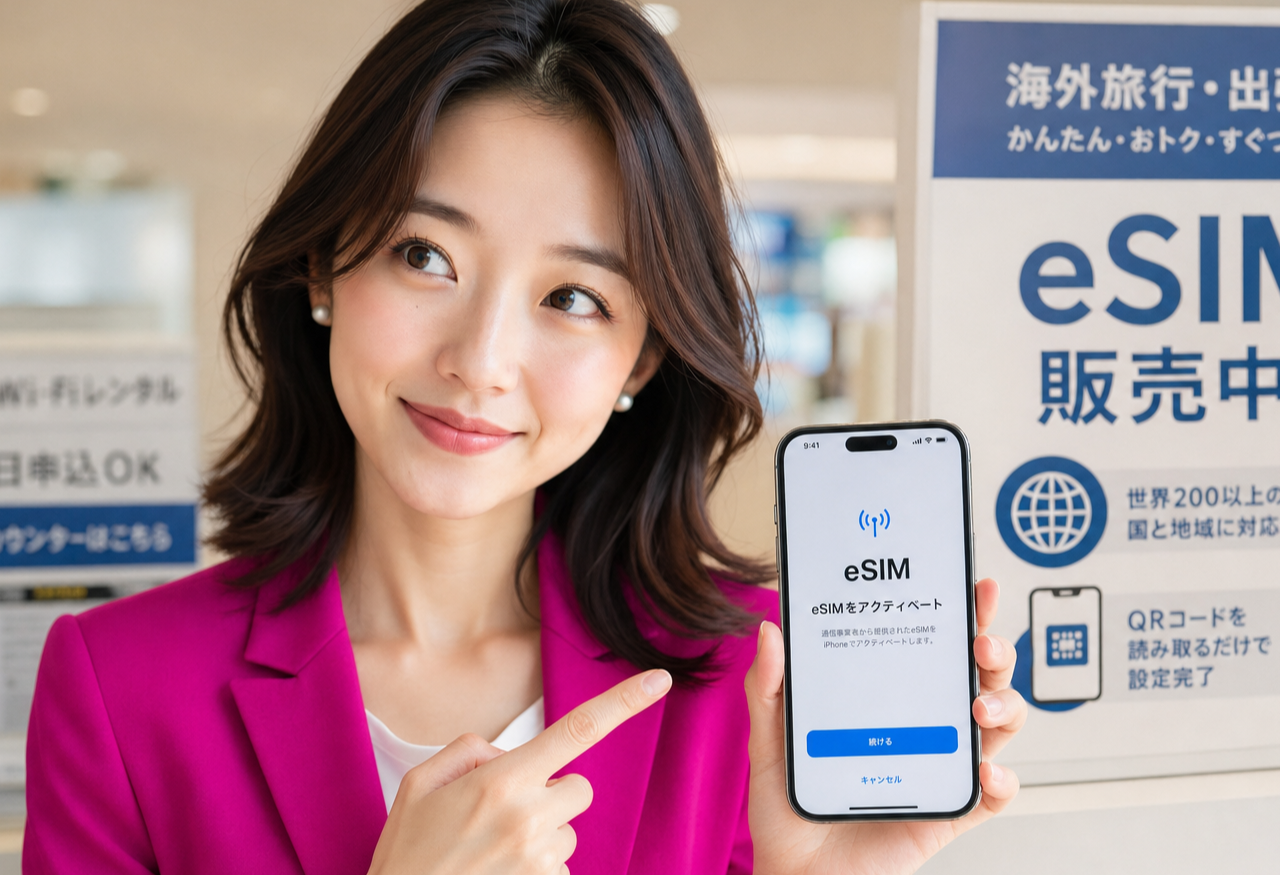
Hi, I'm Miya — I help newcomers get connected in Japan, and this is one of the first choices you'll face: SIM or eSIM? Here's the short version I give everyone. If your phone supports eSIM, that's usually the easiest path, because you can activate it online the same day without waiting for anything in the post. If your phone only takes a physical SIM, a card by mail works perfectly well — it just takes a couple of days to arrive.
Either way, the plan and price are the same; you're only choosing how the SIM gets onto your phone. Let me walk you through both so you can pick with confidence.
What a physical SIM is
A physical SIM is the little chip you slot into your phone — the format most people already know. You apply, the card arrives by mail, you insert it, and follow a short setup to activate your line.
The main thing to plan around is delivery: a physical SIM typically reaches you in about 2–5 days. So if you're arranging things before you arrive, or you simply prefer a card you can hold and move between phones, this is the familiar, reliable option.
What an eSIM is
An eSIM does the same job as that chip, but it's built into your phone — nothing physical to insert. Instead of waiting for mail, you download your line as a digital profile, usually by scanning a QR code or tapping through an app.
The big advantage is speed: because there's nothing to ship, an eSIM-capable phone can often be connected the same day you apply. That's why I steer most newcomers toward eSIM when their phone supports it — it removes the one delay in the whole process.
Does your phone support eSIM?
This is the deciding question, so check it early. Most flagship phones from the last several years support eSIM, but plenty of models — especially older or budget handsets, and some sold in certain regions — are physical-SIM only.
You can usually find out in your phone's settings: look for an option to 'add an eSIM' or a 'mobile plan' menu, or check your model's specifications for 'eSIM'. If it's there, you have the fast path available; if not, a physical SIM has you covered just as well.
How to choose: a simple rule of thumb
Pick eSIM if your phone supports it and you want to be connected as quickly as possible — for example, you've just landed and need maps, translation, and messaging working today.
Pick a physical SIM if your phone is eSIM-incompatible, or if you like the flexibility of a card you can pop out and move to another handset. Both give you the exact same plan and network; the choice is purely about convenience and timing, not quality.
A couple of practical tips
Keep your setup details handy during activation — your account login and the confirmation screen or email — and do the last steps somewhere with wifi if your data isn't live yet. Activation only takes a few minutes once you begin.
If you go the eSIM route, don't delete the setup QR code or email until your line is fully working, in case you need to redo a step. And if you're ever unsure which your phone needs, choosing a physical SIM is the safe default — it works on essentially every phone.
Getting connected the easy way
Here's how it comes together. With Rakuten Mobile you apply online using just your residence card (在留カード) — no store visit — and you choose SIM or eSIM during sign-up. On an eSIM-capable phone you can be up and running in about 15 minutes; a physical SIM arrives by mail in a few days.
So the decision really is that simple: eSIM for same-day speed if your phone supports it, physical SIM if it doesn't. Check current terms on the official page before you apply, and I'll be right here to help with the mobile part.
Related guides

Rakuten Mobile for Foreigners in Japan: What You Need, What It Costs, What's Included (2026)
A residence-card-only mobile plan in Japan, set up by eSIM. What the three price tiers actually cost, what the official page says about speed, what's bundled, the age discounts, and the documents to have ready before you apply. #PR
Read the guide →
How to Create a Rakuten ID in English — The Sign-Up Form, Field by Field (2026)
A walk-through of the actual Rakuten member registration form in English: the language switch most people miss, the six required fields, the two you can never change afterwards, and the katakana name box on the Japanese version. #PR
Read the guide →
How to Earn Rakuten Points in Everyday Life: A Practical Habit Guide
A practical guide to building a Rakuten points habit in Japan: earn through online shopping, code payment at everyday shops, and the card, with one connected ecosystem. #PR
Read the guide →