The Certificate of Eligibility: The Paperwork That Happens Before Your Visa
Updated: 2026-09-22
Quick answer

Hi, I'm Miya, and I help newcomers settle into life in Japan. Here's the part that surprises almost everyone: for most long stays, you don't start at an embassy. A sponsor already in Japan — your school, your employer, or a family member — applies for your Certificate of Eligibility at a regional immigration office here. Once it's issued and reaches you, you take it to a Japanese embassy or consulate where you live and apply for the visa itself. The paperwork chain runs Japan first, then you.
What the Certificate of Eligibility actually is
The Certificate of Eligibility, usually shortened to CoE, is immigration's advance judgement that the activity you're planning in Japan fits a residence status — student, work, spouse, and so on. It is not the visa, and on its own it is not permission to enter. Think of it as the heavy examination being done early, on the Japan side, while you're still at home. That's exactly why the embassy step afterwards is comparatively light, and why the officer at the airport already knows who you are.
Because the examination happens in Japan, the person filing the form is usually not you. Immigration treats your sponsor as the representative: the institution accepting you, the company hiring you, or the relative you'll be living with. You supply the raw material — documents about yourself — and they assemble and submit it. That division of labour is the reason so many people spend weeks waiting for an embassy appointment that was never the first step.
What your sponsor will ask you for
Expect a request list rather than a single form. Typically that means a passport copy, photographs in the specified size, and the documents that prove the story of your stay: admission or employment paperwork, academic or professional history, and for family-based statuses, evidence of the relationship. Anything issued in another language often needs a translation. Requirements differ by status and by office, so treat your sponsor's list — not a stranger's blog post — as the one that actually governs your case.
Two habits save real time here. Scan everything into clean PDFs the day you receive it and name the files plainly, because you will be asked to resend at least one of them. And answer your sponsor quickly: the filing sits still while a single missing page is chased, and the queue does not keep your place warm. If a document takes weeks to obtain from your home institution, start that request before anyone asks you for it.
Why the wait is weeks to months
The honest answer about timing is that nobody can promise you a date. Processing is measured in weeks to months rather than days, and it varies with the status you're applying for, the office handling it, and how complete the first submission was. A case that needs additional documents effectively takes its turn again in the pile, which is the most common reason a classmate's certificate arrived long before yours did.
Season matters too. School intakes cluster around the same start months and company transfers bunch at the fiscal year boundary, so offices get busy in predictable waves. If your arrival lands inside one of those waves, plan on the slower end of the range. For current processing guidance, go to the Immigration Services Agency's own pages — I'm describing how the process behaves, not giving legal advice, and the official source is the one to trust.
From certificate to visa to residence card
When the certificate is issued it goes to your sponsor, who sends it on to you. You then apply for the visa at the Japanese embassy or consulate covering where you live, with the certificate, your passport, the application form, and whatever else that post requires. This stage is usually far shorter than the wait you've just been through, but it is still a step with its own queue — so don't book a non-refundable flight until the certificate is physically in your hands.
The certificate also carries a limited validity period, which gives the whole chain its rhythm: it has to be used to enter Japan before that period runs out. At the airport, immigration takes the certificate along with your visa, and at the major arrival airports your residence card is issued to you on the spot. That card is the end of the paperwork chain and the beginning of everything else — it's the identity document Japan will ask you for from then on.
Planning your first days, phone included
That last detail is worth planning around. A Japanese mobile contract is signed here, with your residence card, after you land — it can't be arranged from abroad while you're still waiting on the certificate. So the realistic plan is two-stage: a travel option for the first days, to get you from the airport to your address and through the errands waiting there, then your own Japanese number and data once the card is in hand. Knowing that in advance keeps the first week from feeling improvised.
Getting your own line is the easy part after all that waiting. You apply online with your residence card, and an eSIM-capable phone can connect the same day — often in about fifteen minutes, which is a pleasant change of pace. Have a look at our setup guide for eligibility and the steps, and confirm current terms on the page before you apply. For the immigration side, follow official guidance; for the phone side, I'll be right here.
Related guides

Rakuten Mobile for Foreigners in Japan: The 15-Minute Setup Guide (2026)
Get an unlimited SIM in Japan with just your residence card — set up by eSIM in about 15 minutes. #PR
Read the guide →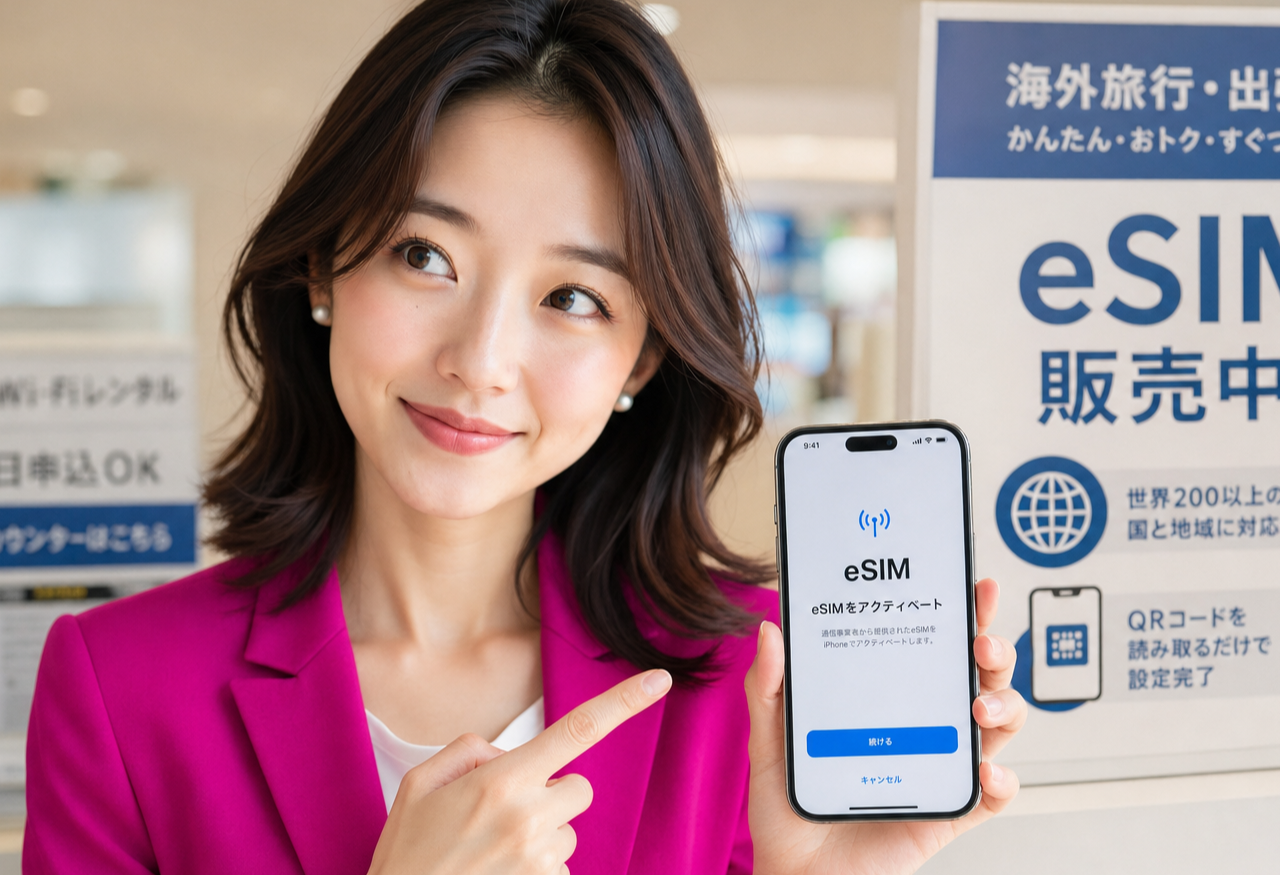
SIM vs eSIM in Japan: Which Should a Newcomer Choose? (2026)
A plain-English guide to eSIM vs a physical SIM in Japan — how each works, which fits your phone and timeline, and how to get connected fast. #PR
Read the guide →
How to Get Internet in Japan: Every Option Compared (2026)
Wi-Fi, pocket routers, SIM and eSIM, roaming and net cafes — what each really costs, and the fastest way to get online whether you're visiting or moving in. #PR
Read the guide →