Riding the Shinkansen for the First Time: Tickets, Seats and Platform Basics
Updated: 2026-09-18
Quick answer
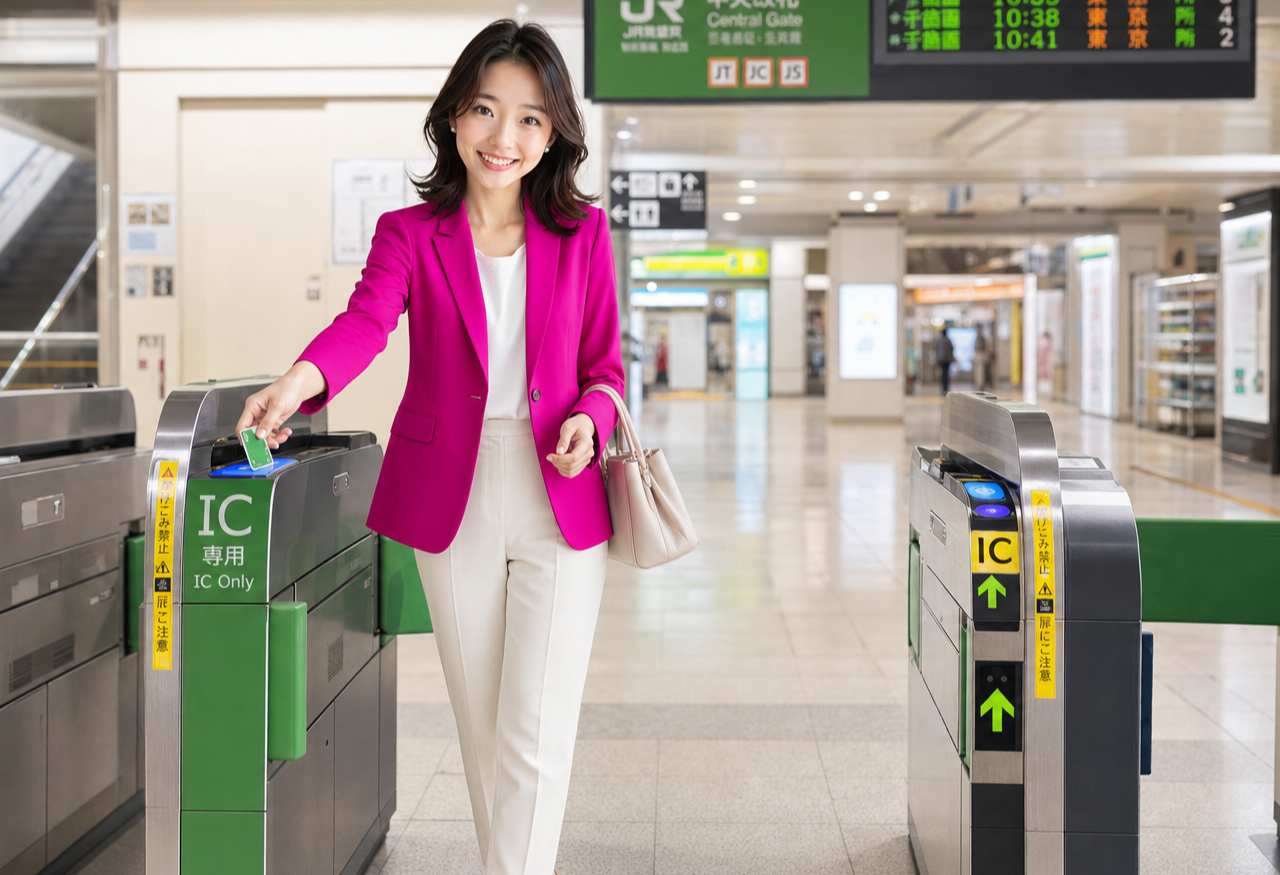
Hi, I'm Miya, and I help newcomers settle into life in Japan. The thing that catches most first-time shinkansen riders off guard is that one journey normally needs two tickets: a base fare ticket that covers the distance between stations, and a limited-express ticket that covers riding the fast train and your seat on it. Once that clicks, the rest follows in order — choose reserved or non-reserved, buy at a machine, a counter or online, find the car marker painted on the platform, and step aboard.
Two tickets for one journey
The base fare ticket is the ordinary one: it pays for moving from station A to station B, the same as any local train. The limited-express ticket is the extra one, and it buys you the right to ride the high-speed service and to occupy a seat on it. Neither works alone for a shinkansen trip. If you have only the base fare ticket you can ride slower trains on the same route, but the gate onto the shinkansen platform will turn you back.
At the gate you feed both tickets into the slot together, stacked one on top of the other. The machine reads them, and both come back out the far side — take them. People lose the second one constantly, and you need them again at the transfer gate and at your destination. I keep mine in the same pocket for the whole trip so I never have to dig through a bag while a queue builds behind me.
Sometimes the two are printed as two separate cards, and sometimes a single card carries both, depending on how and where you bought them. Don't worry about which version you got — feed whatever the machine gave you back into the next gate, and take back whatever it returns. If a ticket is swallowed and not returned, that simply means it has finished its job.
Reserved versus non-reserved cars
A reserved seat means a specific car number and a specific seat, on a specific train, locked in when you book. Your ticket prints the car, the row and the letter, and that seat waits for you even if you arrive at the last moment. A non-reserved ticket is looser: it lets you ride any train that day, but only in the cars designated as non-reserved, and seating is first come, first served. If those cars fill up, standing is the fallback.
Non-reserved suits a flexible day — you finish work, walk to the station, and take whatever leaves next. It suits you far less during long holiday stretches, on the last trains of the evening, or when you're travelling with a suitcase, small children or a group who want to sit together. For those, I'd reserve. Booking also means you can queue calmly at your car marker instead of racing the crowd for a window seat.
Two things worth knowing before you decide. Some services run with every car reserved and no non-reserved cars at all, so a non-reserved ticket won't get you onto them. And most trains carry a premium car class with wider seats and a quieter atmosphere, sold as a separate seat category. Which trains have what changes by route and by timetable revision, so confirm on the operator's own site when you buy.
Buying: machines, counters and online
The ticket machines dedicated to reserved seats are the quickest route for most trips. Look for the language button first — English, Chinese and Korean are usually available — then work through the same sequence every time: date, departure and arrival stations, the train you want, reserved or non-reserved, and how many people. The screen shows you which departures still have seats. A staffed ticket office is the better choice for anything unusual: complicated routings, group bookings, or when you simply want a person to check your plan.
Online reservation is what I'd set up before your first trip, not during it. You register an account with the operator's reservation service, then pick trains and choose seats from a seat map on your phone — window, aisle, near a door, away from the deck. Changing the plan afterwards is usually possible up to a cutoff before departure, and often several times. The registration steps, the change rules and which routes are covered all live on the operator's own site.
The part that feels like magic is IC-linked boarding. You link an IC transit card, or the transit card stored in your phone, to the online booking, and then you tap that card or phone at the shinkansen gate instead of holding paper. The gate lets you through and prints a small slip showing your car and seat, which is a receipt rather than a ticket. Not every route and service supports this, so check the coverage of the scheme itself on the operator's own site before you rely on it.
Finding the platform and the markers on it
Shinkansen platforms sit behind their own set of gates inside the station, so a big terminal means two gate lines, not one: the outer gate into the station, then the transfer gate into the shinkansen area. Give yourself extra minutes for this the first time. The departure boards above the gates list the train's name and number, its departure time, its final destination and the track it leaves from, and the same information repeats on screens along the platform.
Once you're on the platform, look down. Car numbers are painted or posted along the platform edge, with markings showing exactly where each car's doors will open and where to queue for them. Because different train types have different lengths and door spacings, you'll often see more than one set of markers, colour-coded or labelled by train type. Match the marker set to your train, not just to your car number — standing on the wrong set is the classic first-timer mistake.
The doors really do stop at those marks, and the stop itself is short. I like to be at my marker a few minutes before departure, standing to the side of the door rather than in front of it, so people can get off first. Board promptly, put your bag up, and sit down. Trains leave at the printed minute, and the platform staff are not waiting for stragglers.
Baggage, seat etiquette and the ekiben ritual
A normal suitcase goes in the overhead rack, or behind the last row of seats, or in the space between the seat backs and the wall at the end of the car. Larger luggage is a different matter: on some routes, bags above a size threshold measured by total length plus width plus height require you to reserve a specific seat with the oversized baggage space behind it, arranged in advance when you book rather than on the day. The threshold, which routes it applies to and what happens if you board without one are all on the operator's own site, so check before a trip with big bags.
Seat etiquette is quiet and predictable. Before reclining, glance back and ease the seat down slowly rather than dropping it — a small nod to the person behind is enough. Phones go on silent, and calls are taken standing in the deck area between cars, never at your seat. Voices stay low because a lot of people are sleeping or working, and headphones are expected for anything with sound. If you need to get past a seated neighbour, a short sumimasen does all the work.
Eating at your seat, on the other hand, is completely normal here in a way it isn't on commuter trains. Ekiben — station bento boxes sold on the concourse and often made with something local to the line — are part of the trip for a lot of people, and there's a fold-down tray table in the seat back for exactly this. Trolley service through the cars has been scaled back or withdrawn on a number of routes, so I buy before boarding rather than counting on it. Take your rubbish with you or use the bins in the deck.
One last thing: your phone carries the whole trip
Notice where all of this ended up. The reservation happens in an app, the boarding pass is an IC card living in your phone, and when a meeting runs long you change to a later train from the platform in about thirty seconds. That only works with a Japanese phone number and working data behind it — which is why I'd sort the line out before your first shinkansen trip rather than after it. It turns a stressful day into an ordinary one.
Setting up a line is simpler than the ticket system, honestly: you apply online with your residence card, and eSIM-capable phones can often connect the same day, typically in about fifteen minutes. Have a look at our setup guide for eligibility and the step-by-step, and confirm current terms on the page before you apply. Get that sorted, and your first ride is just a nice quiet two hours with a bento. I'll be right here to help.
Related guides

Disability Support in Japan: Certificates, Services and Where to Ask
How disability support works in Japan: the shogaisha techo, applying at your ward office, what it can open up, and where to ask for help. #PR
Read the guide →
Moving to Rural Japan: How Daily Life Differs Outside the Big Cities
What really changes when you settle in a small Japanese town: driving, bus timetables, the town hall, and neighbours. #PR
Read the guide →
Using Myna Portal: Japan's Online Government Services, Explained
A plain guide to Myna Portal: signing in by holding your My Number card to your phone, what you can check and apply for, and the PIN traps. #PR
Read the guide →